Build the best Chat App with Python, JavaScript & Chat Engine

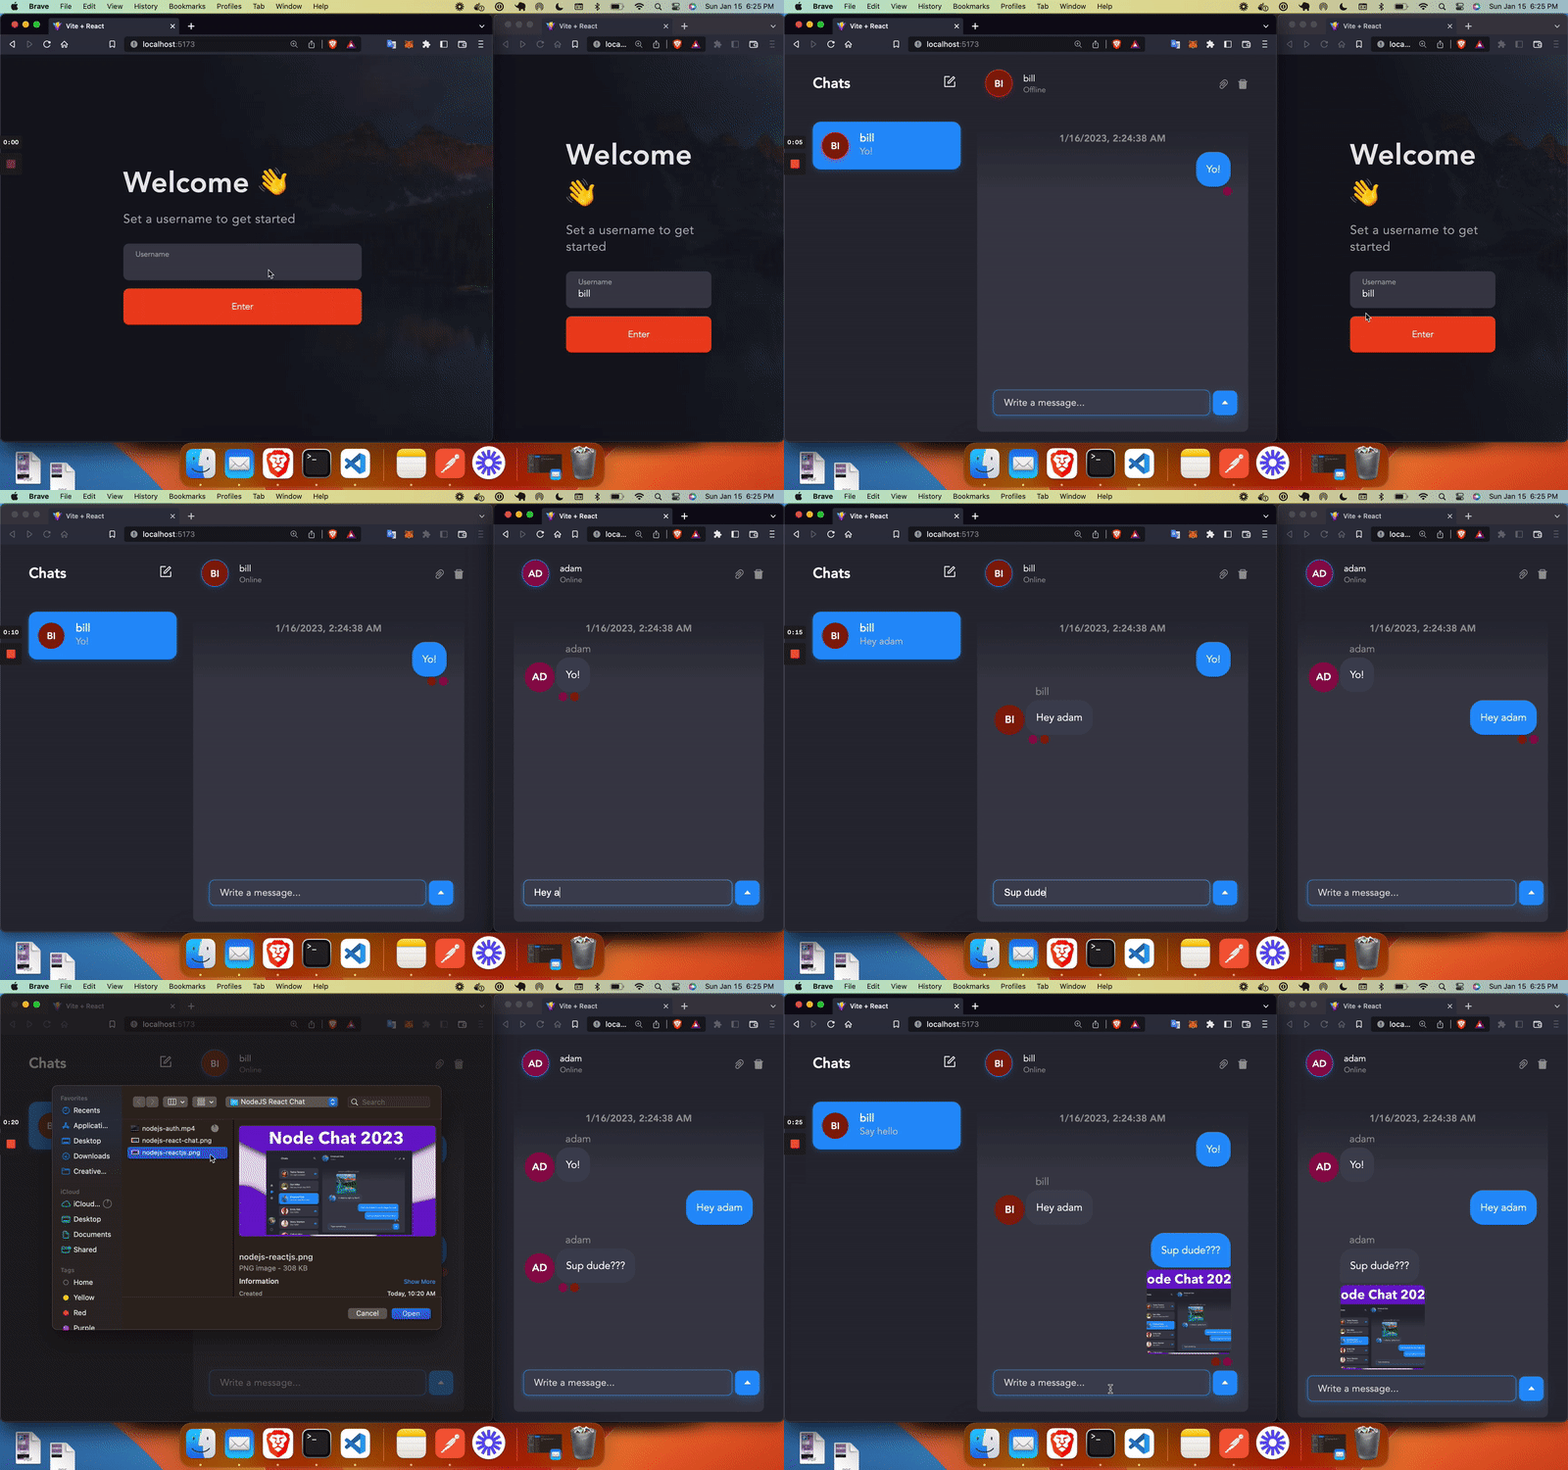
In this tutorial, we’ll build a Python (realtime) chat app where you can authenticate, create group chats, send messages, and send attachments.
Our stack will be using Python, FastAPI, JavaScript, React JS and Chat Engine.
FastAPI is a modern, fast web framework for building APIs with Python 3.6+. ReactJS is a JavaScript library for building user interfaces. Chat Engine is a free toolkit for building chat apps.
(You can also watch this tutorial on YouTube here)
Prerequisites
Before we start, make sure you have the following tools installed on your machine:
- Python 3.6+
- Node.js
- npm (comes with Node.js)
How we’ll do it
We’re going to complete the chat app in the following steps
1. Download (or write) our JavaScript frontend
Since this is a python tutorial, we’ll download and use an out-of-the-box UI from ReactJS and run it on http://localhost:5173
2. Create a FastAPI backend
Then we’ll set up a HTTP web-server using Python and FastAPI. This will authanticate users and give them access to a chat backend. This will run on http://localhost:3001
3. Connect our frontend to backend with Chat Engine
We’ll host our chat backend in a ChatEngine.io project, and we’ll use their APIs to give users access to the project. Next, we’ll use their web-sockets and NPM components to set up the frontend and connect it.
These steps take a total of 10 minutes and ~175 lines of code. You can copy and paste lots of the code too!
1. Download our JavaScript frontend
To start let’s create our project, cd into it, and open our IDE.
mkdir python-javascript-chat
cd python-javascript-chat
code . # Opens VS Code
All the JavaScript code for the frontend can be found here:
Since this is a Python tutorial, we will download the JavaScript code and move right to Part 2 - where we write python.
Within python-javascript-chat you can run the following command:
git clone https://github.com/alamorre/js-chat-website.git frontendNow your project will have the following structure:
tree -L 1
.
└── frontend
This frontend/ folder is a React JS project with an Authentication Page and a Chats Page. To run the project - we’ll cd into it, install dependencies and run in “dev mode”.
cd frontend # Enter React JS project
npm install # install dependencies
npm run dev # run in dev mdoe
Now you should have the following project running on http://localhost:5173.

Since our frontend code is now running, we can setup a backend and then connect the two (with web-sockets and API calls from Chat Engine).
2. Create a FastAPI backend
Let’s create our FastAPI backend/ folder and add server code now. Within python-javascript-chat run these commands:
mkdir backend
cd backend
Now your project will have the following structure:
tree -L 1
.
└── backend
└── frontend
Within our backend folder, let’s setup a python3 virutal environment to hold all our dependencies.
python3 -m venv venv
source venv/bin/activate
Let’s install the following dependencies:
- fastapi (our server framework)
- uvicorn (to run our server)
- requests (to make API calls to Chat Engine later)
pip install --upgrade pip
pip install fastapi "uvicorn[standard]" requests
pip freeze > requirements.txt
Finally, let’s create a backend/main.py file to host our authenticate() method.
from fastapi import FastAPI
from fastapi.middleware.cors import CORSMiddleware

from pydantic import BaseModel

app = FastAPI()
app.add_middleware(
    CORSMiddleware,
    allow_origins=["*"],
    allow_credentials=True,
    allow_methods=["*"],
    allow_headers=["*"],
)

class User(BaseModel):
    username: str

@app.post('/authenticate')
async def authenticate(user: User):
    return {}
We can run this server with the following line: uvicorn main:app --reload --port 3001
Part one is complete! We now have a FastAPI server, running at http://localhost:3001, with one route for /authenticate.
Your backend folder structure should look like this:
backend
├── main.py
├── requirements.txt
└── venv
The server currently does nothing, and our frontend does not connect to the server. Let’s create / authenticate users on Chat Engine (with APIs) and connect our frontend to the python chat server.
3. Connect frontend to backend with Chat Engine
ChatEngine.io gives us Chat infrastructure which our app can access and leverage.
Create a Chat Engine project
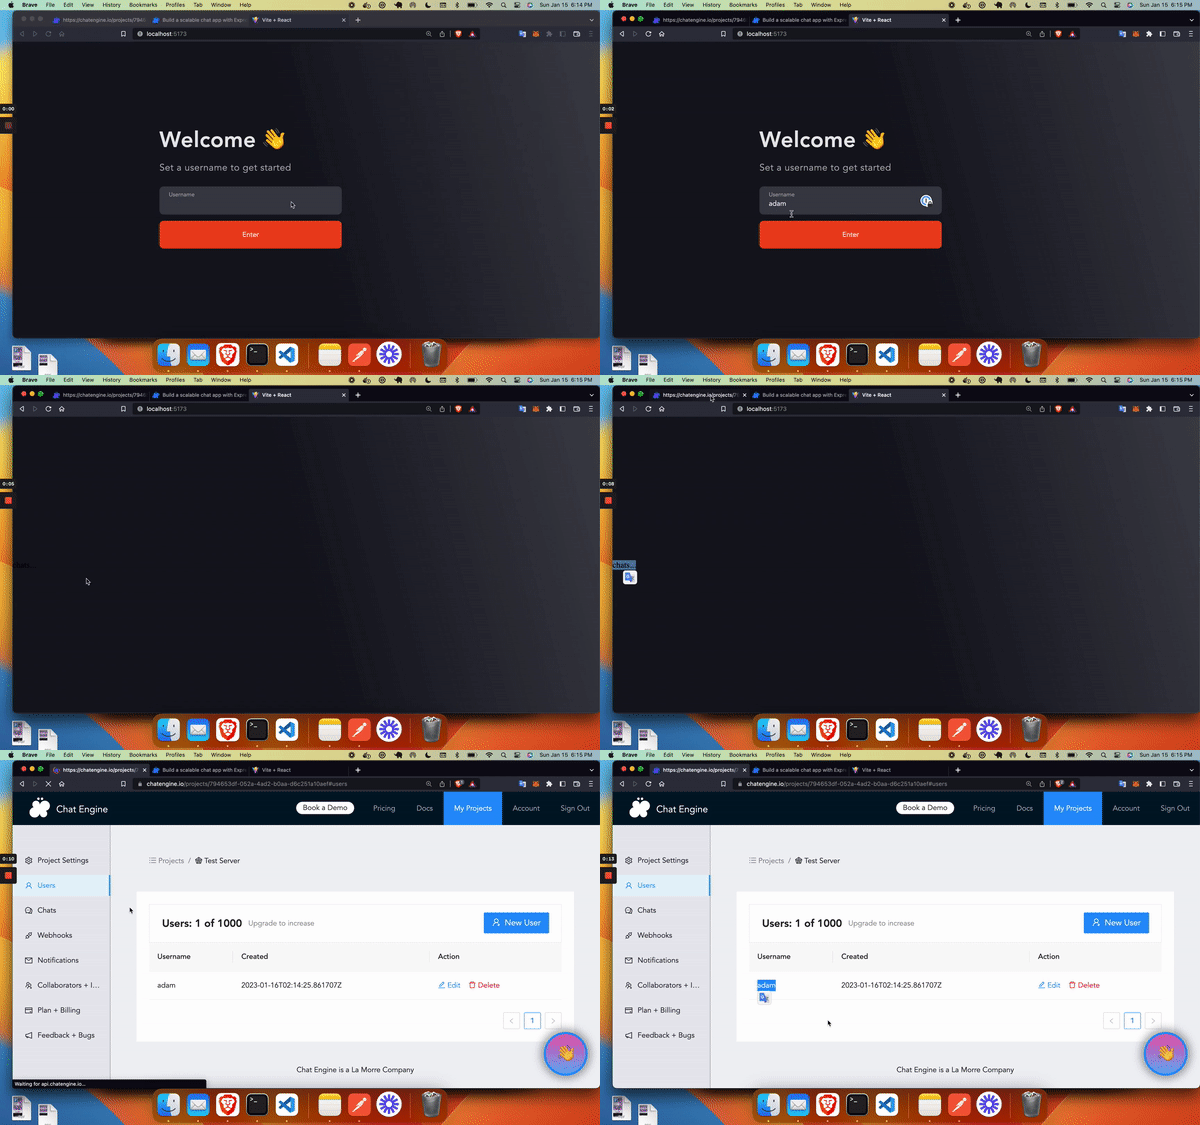
Go to ChatEngine.io, create an account, and setup a “New Project”.
Your new “project” is a chat server, provided for free by Chat Engine! This chat server supports API calls and websocket connections - so your users can authenticate into it and host chatrooms there.
Copy the Project ID and Private Key. The Project ID identifies your project in API calls. The Private Key allows you to create and destroy users with your API calls.
Now we’ll connect our FastAPI backend to Chat Engine and fully complete the server.
Connect our backend to Chat Engine
To connect FastAPI to Chat Engine, we’ll do the following:
import requests- Fetch or create a new user in Chat Engine on
/authenticate
We can do this with the get or create user API. This will fetch a user based on their credentials (login) or create a new user if they don’t exist (signup).
Think of it as a 2-in-1 login-and-signup API call!
We’ll use the requests library to complete these steps.
Copy/paste the following code into backend/main.py to do this. (Replace PROJECT_ID and PRIVATE_KEY with your own project’s values.)
from fastapi import FastAPI
from fastapi.middleware.cors import CORSMiddleware

from pydantic import BaseModel

import requests

app = FastAPI()
app.add_middleware(
    CORSMiddleware,
    allow_origins=["*"],
    allow_credentials=True,
    allow_methods=["*"],
    allow_headers=["*"],
)

PRIVATE_KEY = "..."

class User(BaseModel):
    username: str

@app.post('/authenticate')
async def authenticate(user: User):
    response = requests.put('https://api.chatengine.io/users/',
        data={
            "username": user.username,
            "secret": user.username,
            "first_name": user.username,
        },
        headers={ "Project-ID": PRIVATE_KEY }
    )
    return response.json()
Done! Now when you call /authenticate a user is fetched (or created) on Chat Engine!
Now that our users have access to our Chat Engine project / server, let’s connect our ReactJS frontend to Chat Engine!
Connect the frontend to our Chat Engine project
To do this, let’s look at frontend/src/ChatsPage.jsx
import { PrettyChatWindow } from "react-chat-engine-pretty";

const ChatsPage = (props) => {
  return (
    <div className="background">
      <div className="chat-wrapper">
        <PrettyChatWindow
          projectId={import.meta.env.VITE_CHAT_ENGINE_PROJECT_ID}
          username={props.user.username}
          secret={props.user.secret}
        />
      </div>
    </div>
  );
};

export default ChatsPage;
Even if you don’t use JavaScript, you can probable understand this code.
When a user opens their “Chats Page” we use Chat Engine’s PrettyChatWindow to load a chat UI - out of the box.
We pass a Project ID, and the username / secret for a user in that project. If that user exists, then all their chats and message histories load. If not, then there is some authantication error in the UI.
All we need to do is add our Project ID as VITE_CHAT_ENGINE_PROJECT_ID within frontend/.env.local
Within frontend create a .env.local file and add the following code:
VITE_CHAT_ENGINE_PROJECT_ID=...(Where ... is your project ID)
Now when you run npm run dev again your app should be running!
Done 🎉 🎉 🎉
Conclusion
Assuming your frontend is running on http://localhost:5173 and your backend is running on http://localhost:5173 then we have a full-stack chat app running!
In a nutshell, we downloaded an out-of-the-box UI from ReactJS and ran it on http://localhost:5173. Then we set up a HTTP web-server using Python and FastAPI. We hosted our chat backend in a ChatEngine.io project, which we gave users access to. Finally, we used their web-sockets and NPM components to set up the frontend and connect it to our python server and chat engine project.
You’re chat app is fully functional now! Please email adam@lamorre.co with any questions or post in Chat Engine’s stackoverflow.
Hope you enjoyed!
 Chat Engine