Build and deploy a chat app with Firebase, Next JS, and Chat Engine
In this article, we’ll be building (and deploying) a scalable, full-stack chat application using Firebase, NextJS, and ChatEngine.io! This chat app will support group chats, realtime messaging, file attachements, read receipts, and more!
We’ll be using these three technologies for this app:
- Firebase is a Backend as a Service (BaaS) plaform which is made by Google
- NextJS is a Server Side Rendering Framework (SSRF) in React JS
- ChatEngine provides chat APIs and components for building chat apps easily
Here, we will connect them to make the amazing chat app above!
This project will be awesome for your portfolio, or adding chat into an existing project!
We’ll complete this tutorial in the following steps:
Let’s get started!
1. Setting up a firebase project
To start, make the folder we’ll run this project inside. I’ll name the project “chat-firebase-next”.
mkdir chat-firebase-next
cd chat-firebase-next
code .
To setup a firebase project, make sure you have the Firebase CLI installed and a Firebase account.
Now, open a terminal in this new folder, and start a firebase project with firebase init command. Make sure you pick the following options below:
- Select / enable
functions - Select “Create a new project”
- I named my project and ID “fullstack-chat-server”
- I used Javascript, but TypeScript works too
Now, when you run a free command you should see the following:
.
├── .firebaserc
├── .gitignore
├── firebase.json
└── functions/
I’ll list each item below:
.firebaserclinks this folder to your new Firebase project.gitignoreignores certain files and folders for your repofirebase.jsonhosts settings for your Firebase projectfunctionsis where we’ll be writing our backend code
On that note, let’s setup an Express JS server in our functions folder.
We’ll start with two empty functions for when a Firebase user is created and destroyed. Add the following code to functions/src/index.js:
import * as functions from "firebase-functions";

exports.createChatEngineUser = functions.auth.user().onCreate((user) => {
  console.log("create", user);
});

exports.deleteChatEngineUser = functions.auth.user().onDelete((user) => {
  console.log("delete", user);
});
You may need to change the first line to the following - depending on your firebase version:
const functions = require("firebase-functions");To deploy these functions, just run firebase deploy in your CLI.
‼️ Important ‼️ You will be prompted to enable Authentication and the Blaze plan if you haven’t already. I just enabled Google Authentication and followed the steps in the website.
firebase deployYour backend be good to go! And you should see the following in your functions tab online:
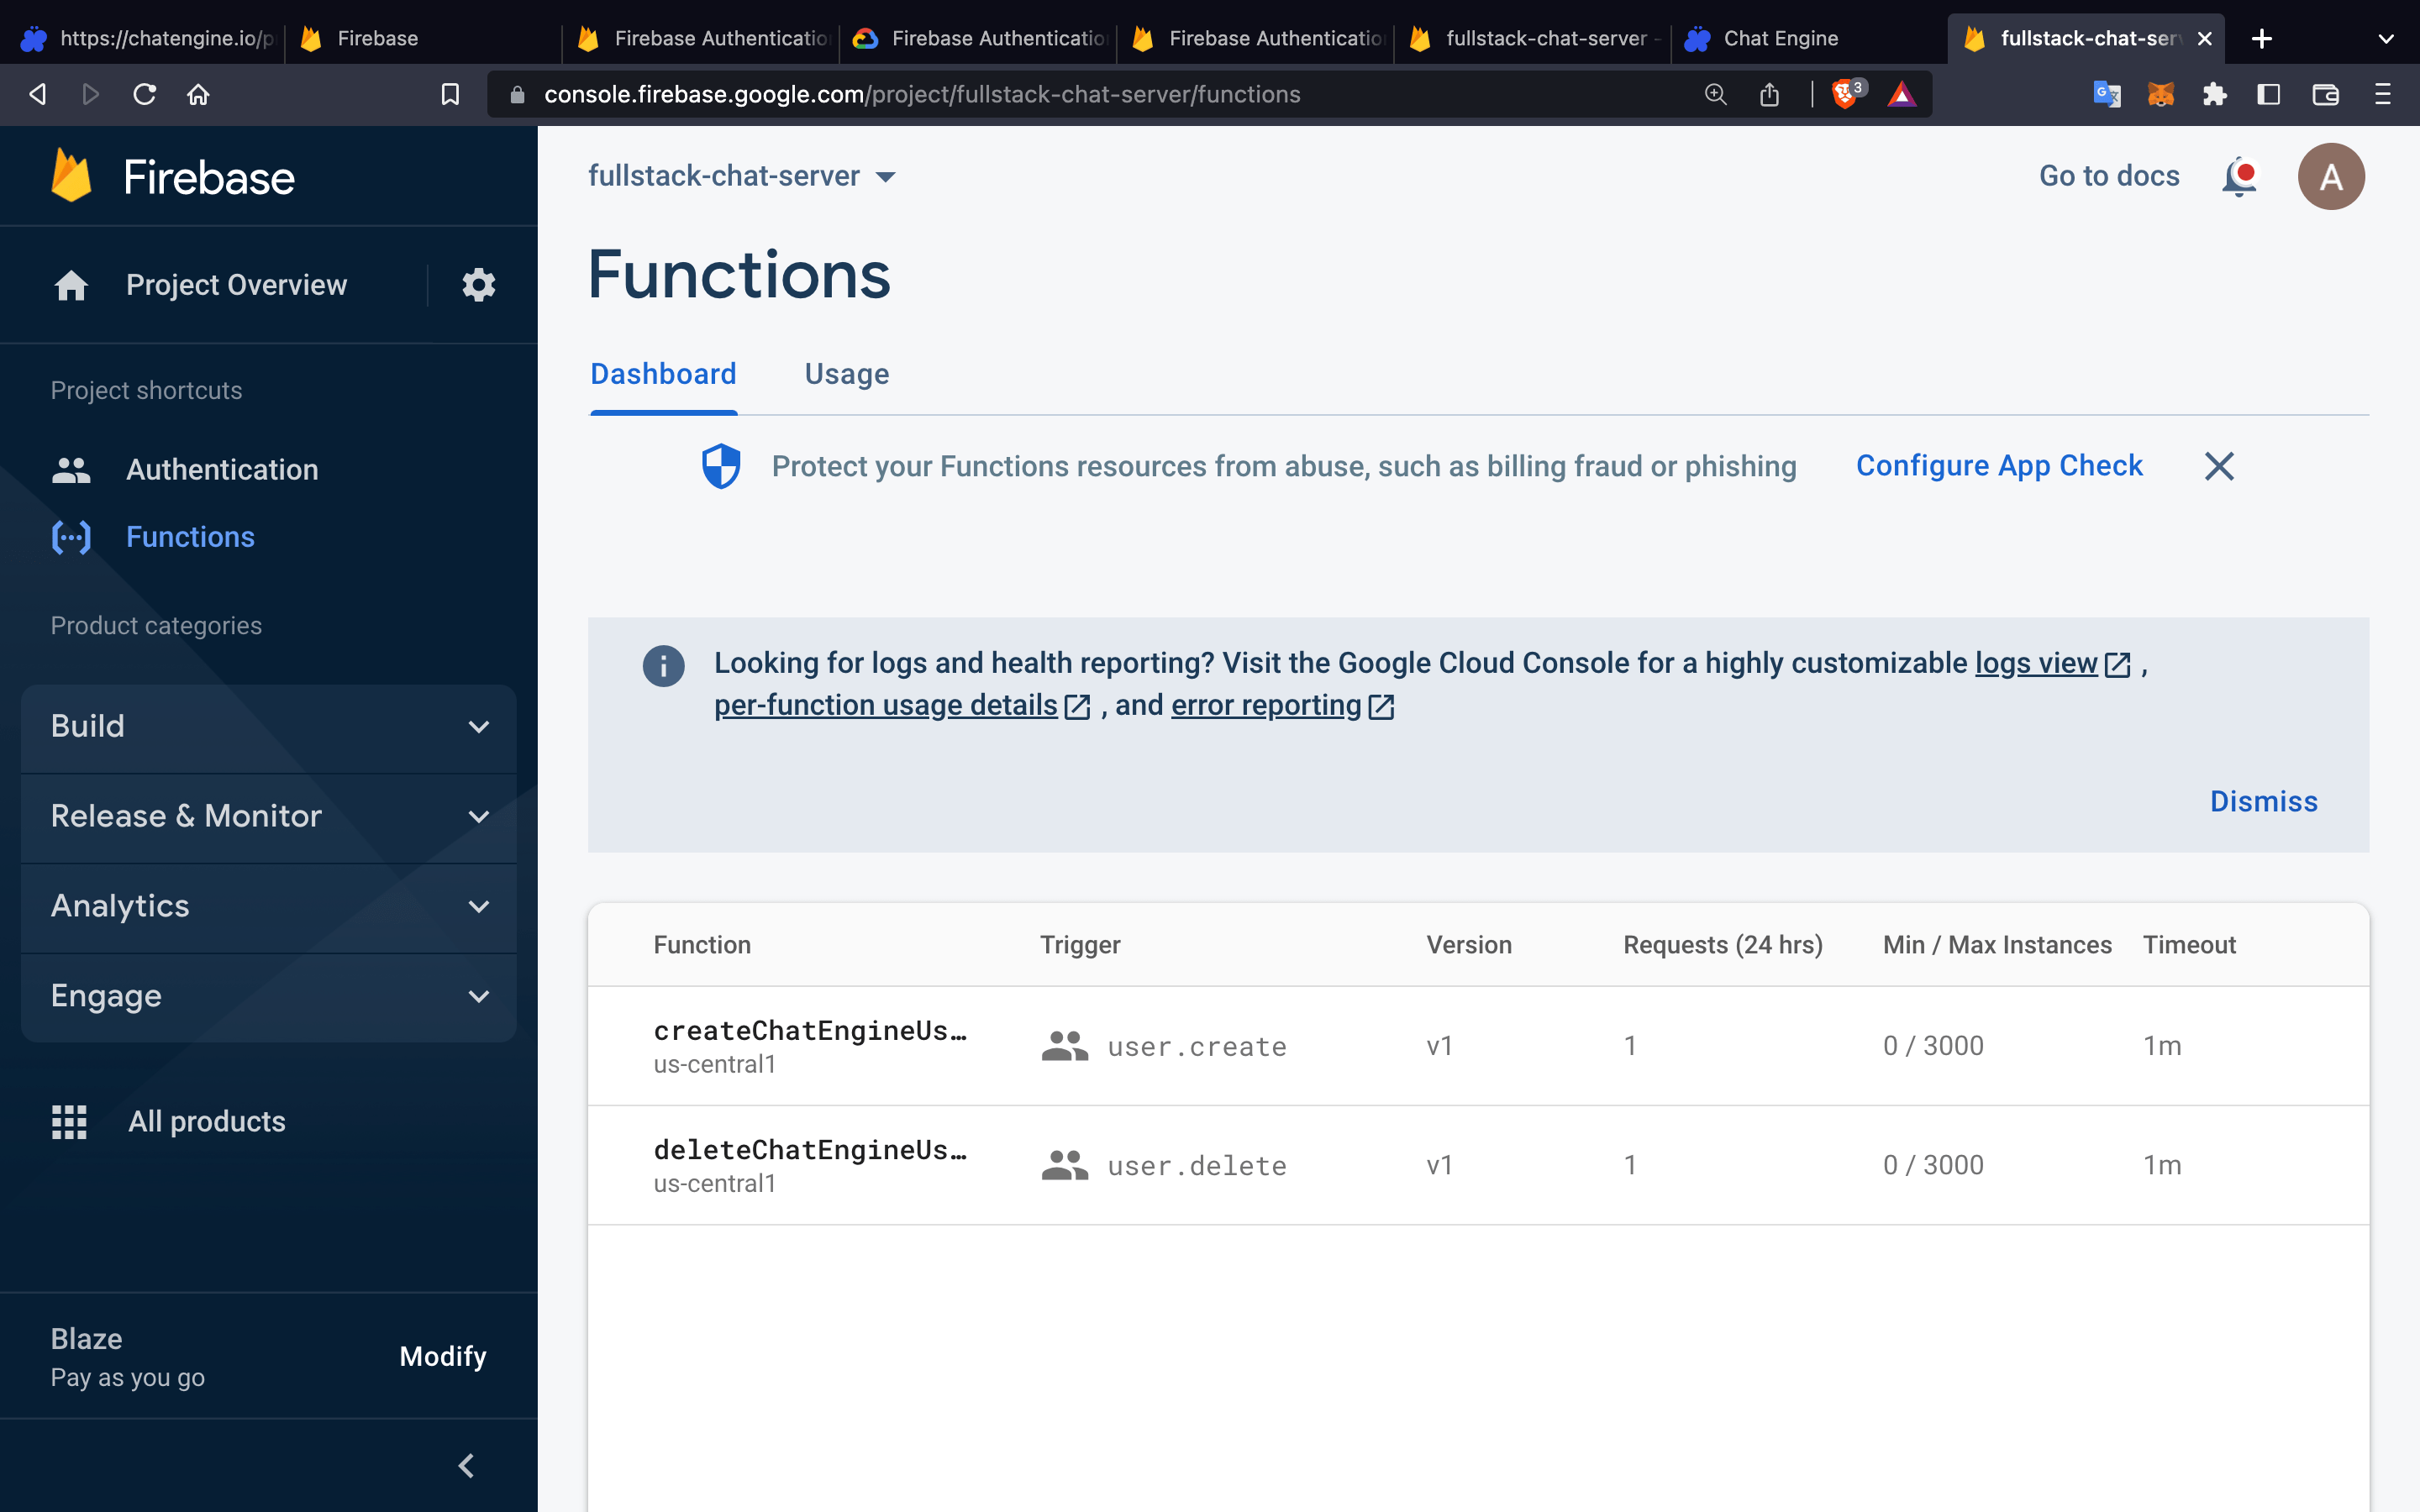
We have functions that trigger whenever a user is created or destroyed. Now, let’s use Rest APIs to connect our Firebase users to Chat Engine!
2. Connect Firebase to Chat Engine
Chat Engine lets us host chatrooms on their platform, and provides tools to build chat UIs. We’ll be syncing our userbase to chat engine using their rest APIs.
Here is the documentation on Chat Engine’s APIs: https://rest.chatengine.io
- We will call the Create User API in our
createChatEngineUserfunction - We will call the Delete User API in our
deleteChatEngineUserfunction
To start, go to https://chatengine.io, create an account, and set up a new Project. The Private Key and Project ID will be needed for our API calls.
Now, let’s add the code to functions/src/index.js and be sure to replace XXX and YYY with your Private Key and Project ID, respectively.
import * as functions from "firebase-functions";

const axios = require("axios");

exports.createChatEngineUser = functions.auth.user().onCreate((user) => {
  axios.post(
    "https://api.chatengine.io/users/",
    {
      username: user.email,
      secret: user.uid,
      email: user.email,
      first_name: user.displayName,
    },
    { headers: { "Private-Key": "XXX" } }
  );
});

exports.deleteChatEngineUser = functions.auth.user().onDelete((user) => {
  axios.delete("https://api.chatengine.io/users/me/", {
    headers: {
      "Project-ID": "YYY",
      "User-Name": user.email,
      "User-Secret": user.uid,
    },
  });
});
Clearly we need the axios dependency to make API calls to Chat Engine. So let’s install it now:
cd functions
npm i axios
cd ..
Run firebase deploy again to push the new code into production:
firebase deployIf you’re using TypeScript, you may need to modify the rules in .eslintrc.js like I did below. (Skip if you’re using JavaScript)
  rules: {
    // prettier-ignore
    "quotes": ["error", "double"],
    "import/no-unresolved": 0,
    // prettier-ignore
    "indent": ["off", "always"],
    "object-curly-spacing": ["off", "always"],
    "@typescript-eslint/no-var-requires": ["off", "always"],
  }
Our backend is complete! Now users have access to Chat Engine when they sign up and their account goes away is they delete their data!
Let’s setup a frontend and connect it to Firebase and Chat Engine!
3. Set up the Frontend
At the top level of our project, we’ll run the command below to make a NextJS project.
npx create-next-app@latest --tsBe sure to name the project “frontend” and select the following options:
✔ What is your project named? … frontend
✔ Would you like to use ESLint with this project? … No
✔ Would you like to use `src/` directory with this project? … No
✔ Would you like to use experimental `app/` directory with this project? › No
✔ What import alias would you like configured? … @/*
I highly recommend TypeScript with Chat Engine, you’ll see why soon :)
Now you should have a frontend/ folder right next to functions/.
‼️ Important side note ‼️ Replace styles/gloabl.css with the following CSS code to make the app pretty.
Let’s CD into this folder, install dependencies, and run in dev-mode.
cd frontend
npm install
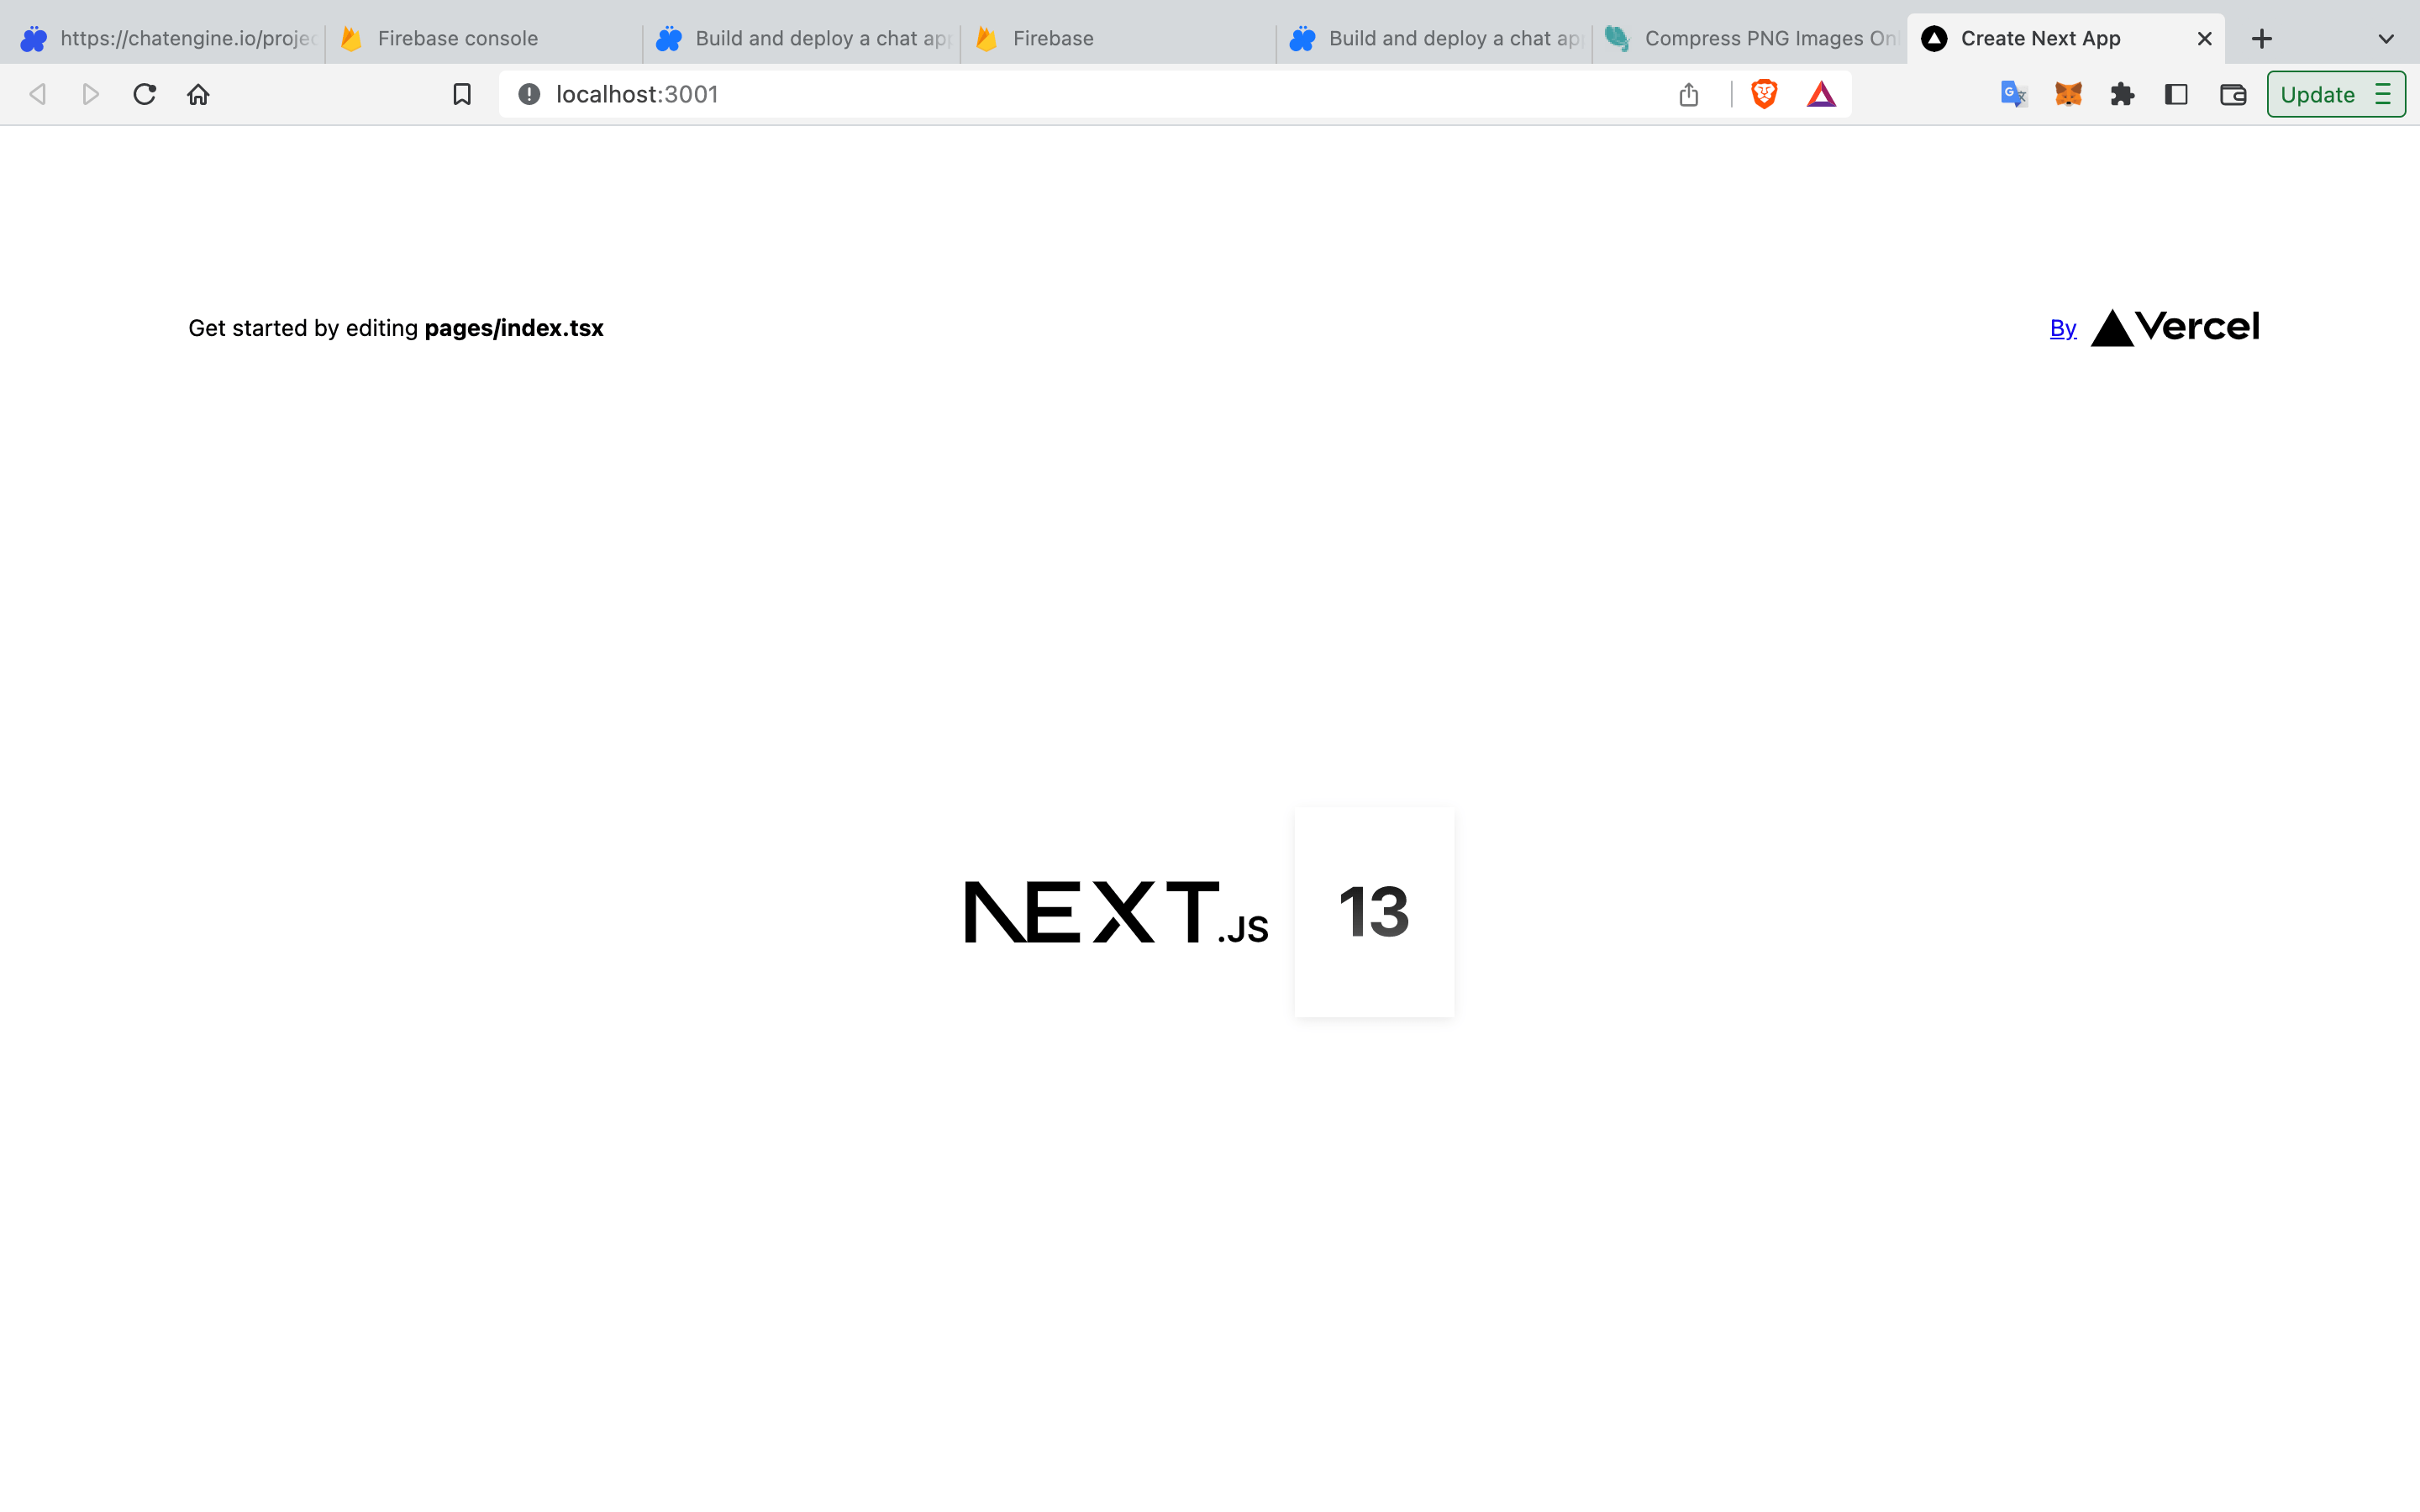
npm run devAnd now you should see a pretty website on http://localhost:3000
For the final push, let’s add all the code we need to our frontend!
4. Coding the Frontend
Adding Firebase
To start, we’ll need firebase in our Next JS project. Install the dependency.
npm install firebaseTo link the Firebase project in NextJS, we’ll need to add some environment variables. Create a .env file and replace with your values:
NEXT_PUBLIC_FIREBASE_API_KEY=AIzaSyDqXgd1AwRdqSCpdrhf_t0-rB1MuE2sd4A
NEXT_PUBLIC_FIREBASE_AUTH_DOMAIN=chat-rce.firebaseapp.com
NEXT_PUBLIC_FIREBASE_PROJECT_ID=chat-rce
NEXT_PUBLIC_FIREBASE_STORAGE_BUCKET=chat-rce.appspot.com
NEXT_PUBLIC_FIREBASE_MESSAGING_SENDER_ID=45443650042
NEXT_PUBLIC_FIREBASE_APP_ID=1:45443650042:web:2598e30783c0e0bd545443
NEXT_PUBLIC_FUNCTIONS_URL=https://us-central1-chat-rce.cloudfunctions.net/v1
NEXT_PUBLIC_CHAT_ENGINE_PROJECT_ID=16b08e85-e4c9-4541-b30e-45e157ec3821
‼️ Make sure NEXT_PUBLIC_CHAT_ENGINE_PROJECT_ID is there with yuor project ID.
Now, create a frontend/firebase.ts file and add this code:
import { initializeApp } from "firebase/app";
import { getAuth } from "firebase/auth";

const firebaseConfig = {
  apiKey: process.env.NEXT_PUBLIC_FIREBASE_API_KEY,
  authDomain: process.env.NEXT_PUBLIC_FIREBASE_AUTH_DOMAIN,
  projectId: process.env.NEXT_PUBLIC_FIREBASE_PROJECT_ID,
  storageBucket: process.env.NEXT_PUBLIC_FIREBASE_STORAGE_BUCKET,
  messagingSenderId: process.env.NEXT_PUBLIC_FIREBASE_MESSAGING_SENDER_ID,
  appId: process.env.NEXT_PUBLIC_FIREBASE_APP_ID,
};

export const app = initializeApp(firebaseConfig);
export const auth = getAuth(app);
Finally, disable StrictMode in next.config.js to allow web-socket connections.
/** @type {import('next').NextConfig} */
const nextConfig = {
  reactStrictMode: false,
};

module.exports = nextConfig;
We can now run this project! You can run this server with npm run dev now.
npm run devDeleting files
Next, delete styles/Home.module.css and the pages/api directory because they won’t be necessary.
Adding Auth, Loading, and Chats
Next, let’s create an auth page (pages/AuthPage.tsx) with the following code
import { auth } from "@/firebase";
import { signInWithRedirect, GoogleAuthProvider } from "firebase/auth";

export default function AuthPage() {
  const onClick = () => {
    signInWithRedirect(auth, new GoogleAuthProvider());
  };

  return (
    <div className="page">
      <div className="logo">👋 💬 🤖 </div>
      <div className="text">Welcome to ChatRCE</div>
      <div className="text" style={{ paddingBottom: "16px" }}>
        Log in with your account to continue
      </div>
      <button className="button" onClick={onClick}>
        Log In
      </button> <button className="button" onClick={onClick}>
        Sign Up
      </button>
    </div>
  );
}
Next, let’s create a chats page (pages/ChatsPage.tsx). We’ll need to install react-chat-engine-pretty to connect our user to a Chat Engine UI.
npm install react-chat-engine-prettyWith this dependency installed, add the following code:
import { auth } from "@/firebase";
import { signOut, User } from "firebase/auth";
import { PrettyChatWindow } from "react-chat-engine-pretty";
interface ChatProps {
  user: User;
}

export default function Page(props: ChatProps) {
  return (
    <div style={{ height: "100vh" }}>
      <button
        style={{ position: "absolute", top: "0px", left: "0px" }}
        onClick={() => signOut(auth)}
      >
        Sign Out
      </button>
      <PrettyChatWindow
        projectId={process.env.NEXT_PUBLIC_CHAT_ENGINE_PROJECT_ID || ""}
        username={props.user.email || ""}
        secret={props.user.uid}
        style={{ height: "100%" }}
      />
    </div>
  );
}
Next, add a loading page (pages/Loading.tsx) with the following code:
export default function Loading() {
  return (
    <div className="page">
      <div className="logo">☝️</div>
      <div className="text">Loading your info...</div>
    </div>
  );
}
Finally, modify the pages/index.tsx file to load the pages based on auth state:
import { useState } from "react";

import AuthPage from "./AuthPage";
import ChatPage from "./ChatsPage";
import Loading from "./Loading";
import { auth } from "@/firebase";
import { User } from "firebase/auth";

export default function Home() {
  const [user, setUser] = useState<User | null>();
  auth.onAuthStateChanged((user) => setUser(user));

  if (user === undefined) {
    return <Loading />;
  } else if (user === null) {
    return <AuthPage />;
  } else {
    return <ChatPage user={user} />;
  }
}
And we’re done!
Conclusion
Firebase, NextJS and Chat Engine are all powerful tools. When you combine them, you get a scalable and performant chat app in minutes!
Firebase provides authentication, NextJS provides a frontend, and Chat Engine hosts all the chatrooms and messages.
Please let me know if you have any questions at adam@lamorre.co